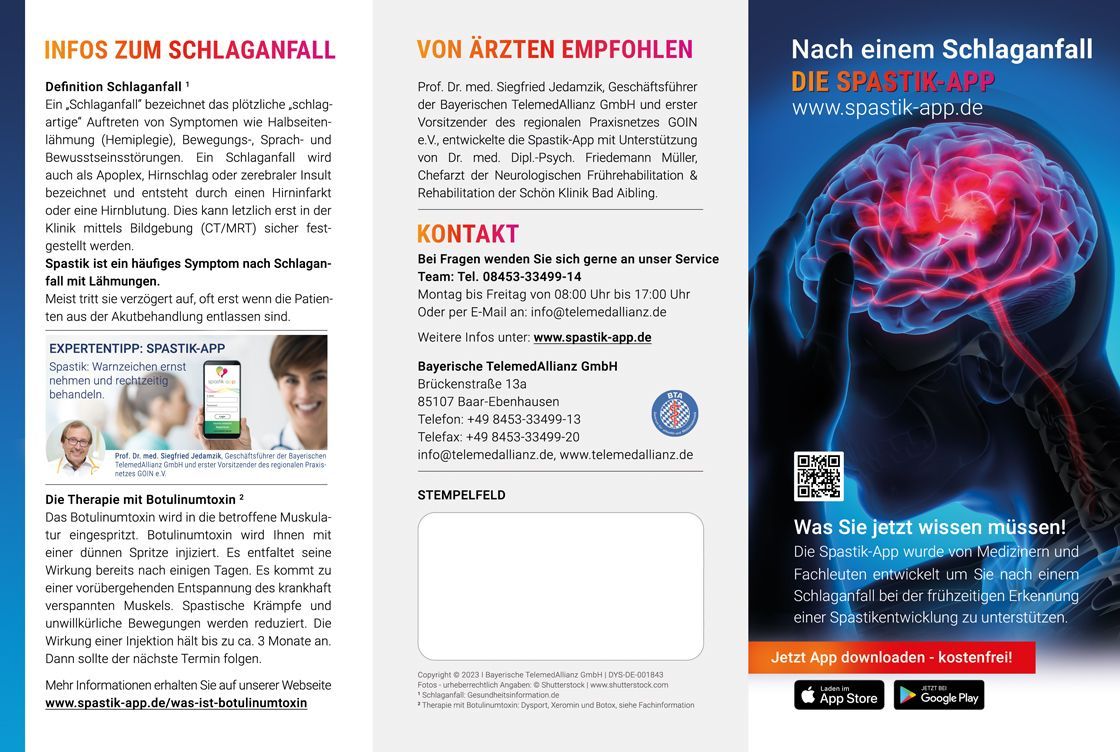
Using the Spasticity App for Patients
Who is suitable to use the spasticity app?
Patients who have recently suffered a stroke (with the support of their doctor, nurse, physiotherapist or family member).
If you are having trouble interpreting the images when using the Spasticity App, we provide you with tips on the ten videos in the Spasticity App.
Discover our exercise videos

Our innovative exercises offer you the opportunity to actively participate in therapy. Through targeted stretching and activation exercises that can be easily learned and carried out independently, you gain more independence. Use our spasticity app to individually adapt your exercises. Start your self-rehabilitation now and increase your well-being with our exercise videos! ➤ To the exercise videos
Access to the exercise videos
You can access the password-protected area of our exercise videos by downloading the Spasticity App and completing the questionnaire in the app.
Download Flyer - Spasticity App for Patients
Explanations of the app's videos
Explanation of Video 1:
The relative kneels in front of the patient and moves the foot as shown in the video. He grasps the muscles on the back of the lower leg so that he and the patient can detect the rhythmic muscle contractions - these are also known as clones.
Further explanations:
Exhaustive means that after the cloni are triggered by moving the foot, as shown in the video, the "muscle twitches" that the family member and the patient can feel in the calf muscle on the back of the lower leg, end on their own as soon as the foot is no longer moved.
Inexhaustible means that after the cloni are triggered by moving the foot, as shown in the video, the "muscle twitches" that the family member and the patient can feel in the calf muscle on the back of the lower leg do not stop on their own. The "muscle twitches" can only be stopped by holding the foot.
Explanation for Video 2:
In this video you can see an example of increased physical exertion: putting on a stocking using the right hand. Increased physical exertion can of course also be caused by other physical movements, such as lifting a heavy object, squatting or climbing stairs quickly.
Explanation of Video 3:
Patient gets up from the chair. Subsequent assessment of the knee and foot position. If the leg cannot be stretched and straightened, please press the yellow button. If the heel of the leg that is not fully or completely stretched does not touch the floor, please press the red button.
Explanation for Video 4:
The relative kneels in front of the patient, grasps the affected leg with one hand below the knee and with the other hand grasps the foot. Flexion and extension as shown in the video. The patient and the relative feel either no resistance, slight resistance or pronounced resistance.
Green: Normal movement without resistance. When bending and straightening the knee, neither the patient nor the relative feels any muscular resistance.
Yellow: slight resistance felt by the patient and relatives, as shown in the video.
Red: more difficult resistance or the lower leg can hardly be bent or stretched, in any case only with significantly greater exertion of force compared to the exertion of force shown in the video.
Explanation Video 5:
When walking, the foot turns inwards. The weight is placed on the outside edge of the foot. A slight inward turn means an angle of up to about 45 degrees. Anything beyond that is a strong inward turn and requires the red button to be pressed.
Explanation Video 6:
When sitting, the toes are relaxed and in a normal position. If you stand up and the toes remain in this position, press the green button. Otherwise, assess the toe clawing as described in the buttons.
Explanation Video 7:
The relative fixes the arm in the shoulder area and grabs the wrist and bends and stretches the elbow as shown in the video. First, perform these movements slowly and carefully to get a feel for the movement sequence. Then bend and stretch the elbow joint quickly and ask the patient to give you feedback on whether they feel any discomfort or pain.
Explanation Video 8:
The relative stabilizes the elbow by grasping the patient's elbow from below. The patient performs the movement as shown in the video and assesses the release of the ball as described in the three buttons.
Explanation Video 9:
This video is self-explanatory. To give you an idea: we would define an elbow bend of less than 45 degrees as slight bending and significantly more as severe bending.
Explanation Video 10:
This is easy to do. Sit on a chair and place your forearm on the table in a relaxed position. In this position, the chest muscle is not tense in a healthy person. You can easily push it back and forth or press it in. If necessary, test this on a relative. If the chest muscle is tense in comparison to your tactile experience in yourself or a relative and can hardly be moved or pressed in, then use the yellow button. Any tension beyond this, if it feels like a tense biceps muscle on the upper arm, for example, requires the use of the red button.
What should you do if one of the 10 videos doesn't apply to you?
Please answer the question using the green button below the video.
What are the benefits of using the Spasticity App?This Spasticity App can help you identify the warning signs of developing spasticity.
How does the registration process work?
Your doctor, nursing staff, physiotherapist or relatives will support you in registering and explain in detail the need to use the spasticity app.
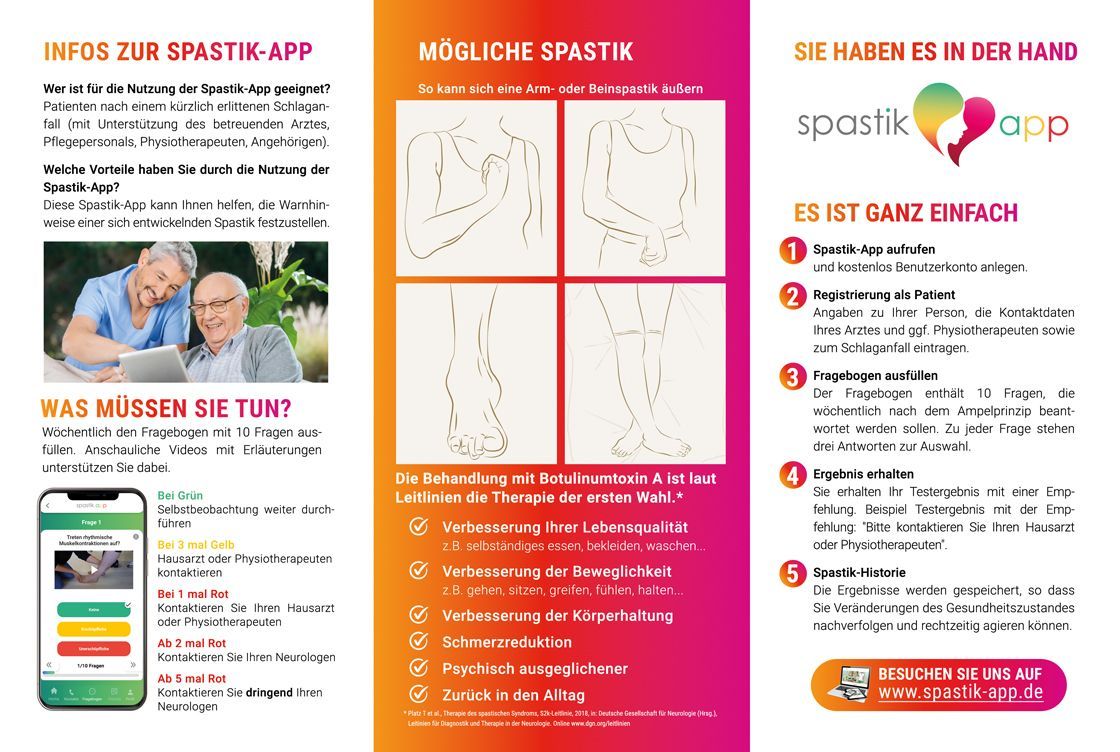
How do you use the Spasticity App?
1. In the hospital:
If necessary, the spasticity app will be recommended to you by your doctor, nursing staff, physiotherapist or relatives.

2. Spastic-App Download
A stable internet connection and a smartphone or tablet with an Android or iOS system are required. The download is free from the Google Play Store or App Store.
3. Patient registration
Enter your personal contact details into the Spasticity app.
4. Account activation
Registration
Use of the one-time password that is sent by email
Activation of the account
5. Information about the stroke
The medical data is entered with the help of your doctor, nursing staff, physiotherapists or relatives.
6. Use the spasticity app
Use at home or on the go

Use the Spasticity App questionnaire once a week to obtain a test result based on the traffic light principle.
The result of the questionnaire can yield the following answers according to the traffic light principle (see below).
The traffic light principle

When green
Continue self-observationIf yellow 3 times, contact your GP or physiotherapistIf red 1 time, contact your GP or neurologist
From 2 times red
Contact your neurologist
From 5 times red
Contact your neurologist urgently
Practical example:
The result indicates that you should contact your family doctor, physiotherapist or neurologist.
You then have the option of calling your family doctor, physiotherapist or neurologist directly via the spasticity app (if the contact details have been entered into the spasticity app) to make an appointment.
If your family doctor, physiotherapist or neurologist is a customer of Doccura - your online video consultation, ask them to send you an invitation (link) to an online video consultation. You can have a clarifying conversation with your doctor quickly and conveniently from home.
You are also welcome to ask your family doctor, physiotherapist or neurologist whether they would like to test the Doccura online video consultation free of charge for 2 weeks so that they can also provide you with online care. Link to Doccura online video consultation: www.doccura.de/


